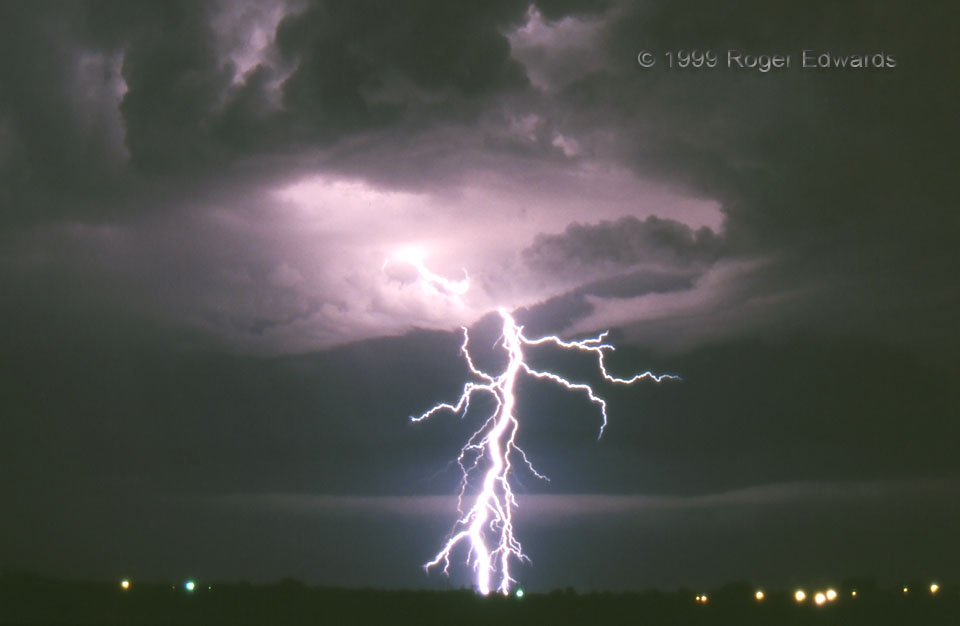
Simple but beautiful, forked CG (cloud-to-ground) strokes hit one behind the other. If your camera has a “B” (bulb) setting, taking lightning pictures is as easy as putting the camera firmly on a tripod (make sure it is level!), aiming it at the part of the storm where lightning is most common, and holding down the trigger with a finger or release cable until the flash occurs. Lightning takes its own picture, but here are some hints for making it easier: In cities and towns, use a shorter exposure time (5–20 seconds) and close the lens aperture to mid-range (say, f5–f11) to reduce glare and overexposure. In the dark countryside, open the aperture wider, unless the lightning is within 3 or 4 miles. [Any closer, back off! Get farther away for safety; and use a zoom lens.] For film shooting, as I was doing back then, I preferred 100 speed Provia or Sensia slide films over lower-speed Velvias or Kodachromes. Alas, they all reddened the scene too much, unlike most digital sensors, and scans require some color correction. Whether film or digital, experiment a lot, because what works for someone else’s camera/lens/film (or sensor) combination may be different for yours. You will burn a lot of frames for just a few nice shots! In your spare time, take an hour or two to drive around your area and scout open locations which have good views in several directions, so you know where to go quickly when there are lightning photo opportunities.
Norman OK (1 Jun 99) Looking SE
35.2325, -97.4057
